Simply a color-monochrome quilt
What happened next …
Preparation
Fabrics
With the colour tool, a bunch of RGB indications and procreate I put every single colour tone on a surface. A total of 18 different colour surfaces were created.
And then came printing. I saved each colour area as a JPG and put it on a cotton satin fabric to print.
Design
I wanted depth! So I experimented around and tried to design the surfaces in such a way that they meet at one point and thus create a kind of “wow effect”. And as if that wasn’t enough, I also added light and dark areas to enhance the depth effect even more.
Technique
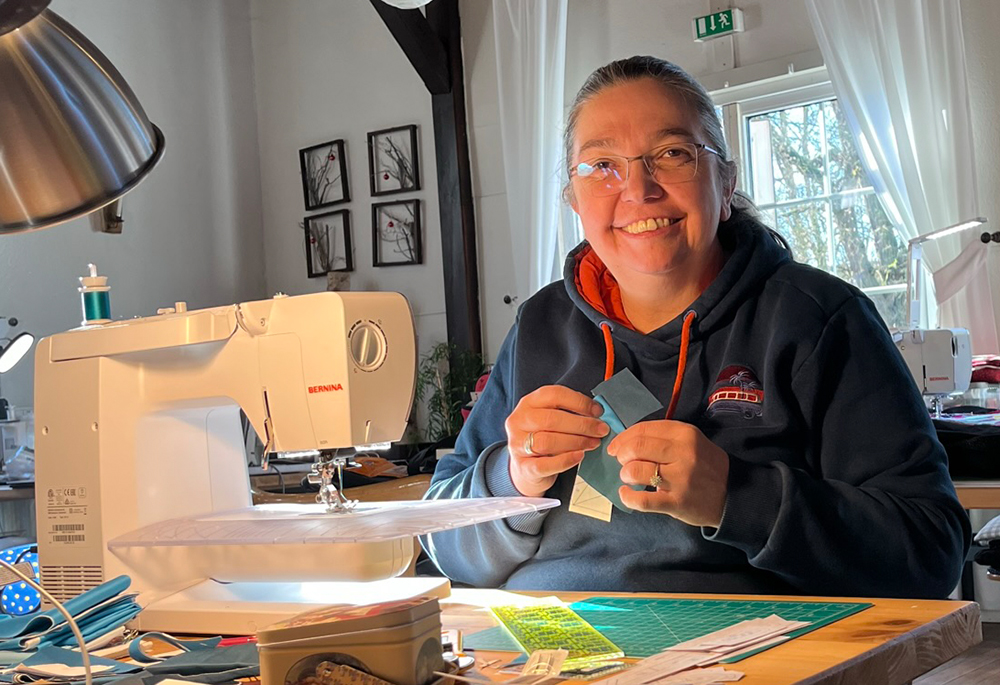
I have taken on a new challenge: Foundation Paper Piecing! I didn’t want to applique the blocks, so I drew the blocks and the pointed areas as one continuous paper pattern. I was sweating and swearing even more. Another challenge was the many seams meeting at the centrally tapered point. How did I do that? With a small block at this point! Well, sometimes you just have to be a little creative to make things easier.
Blocks
I really wanted to sew these square and rectangular blocks and give them some depth and light/dark effect.
I printed out each block in different sizes according to my design and marked each individual element to be sewn with a colour number.
I had so much fun making them that I printed and sewed some blocks in not one, not two, but FIVE different sizes!
You can find out what happens next in my next blog post Deep Turquoise – CaBi Quilting (cabi-quilting.de)